Zaprite offers the ability to connect your Quickbooks account and enable all incoming Zaprite payments to be pushed to your Quickbooks Online account.
Our Quickbooks Connection is a great way to make sure all your Zaprite income is recorded in your Quickbooks as fiat-denominated Sales Receipts.
Connect your Quickbooks account
The following is a short guide on how you can connect your Quickbooks account to Zaprite to start sharing incoming payment information.
Step 1: Activate Quickbooks Connection
The first step is to activate the Quickbooks connection. Simply visit the Connections tab and click the ‘Connect’ link under the Quickbooks card.
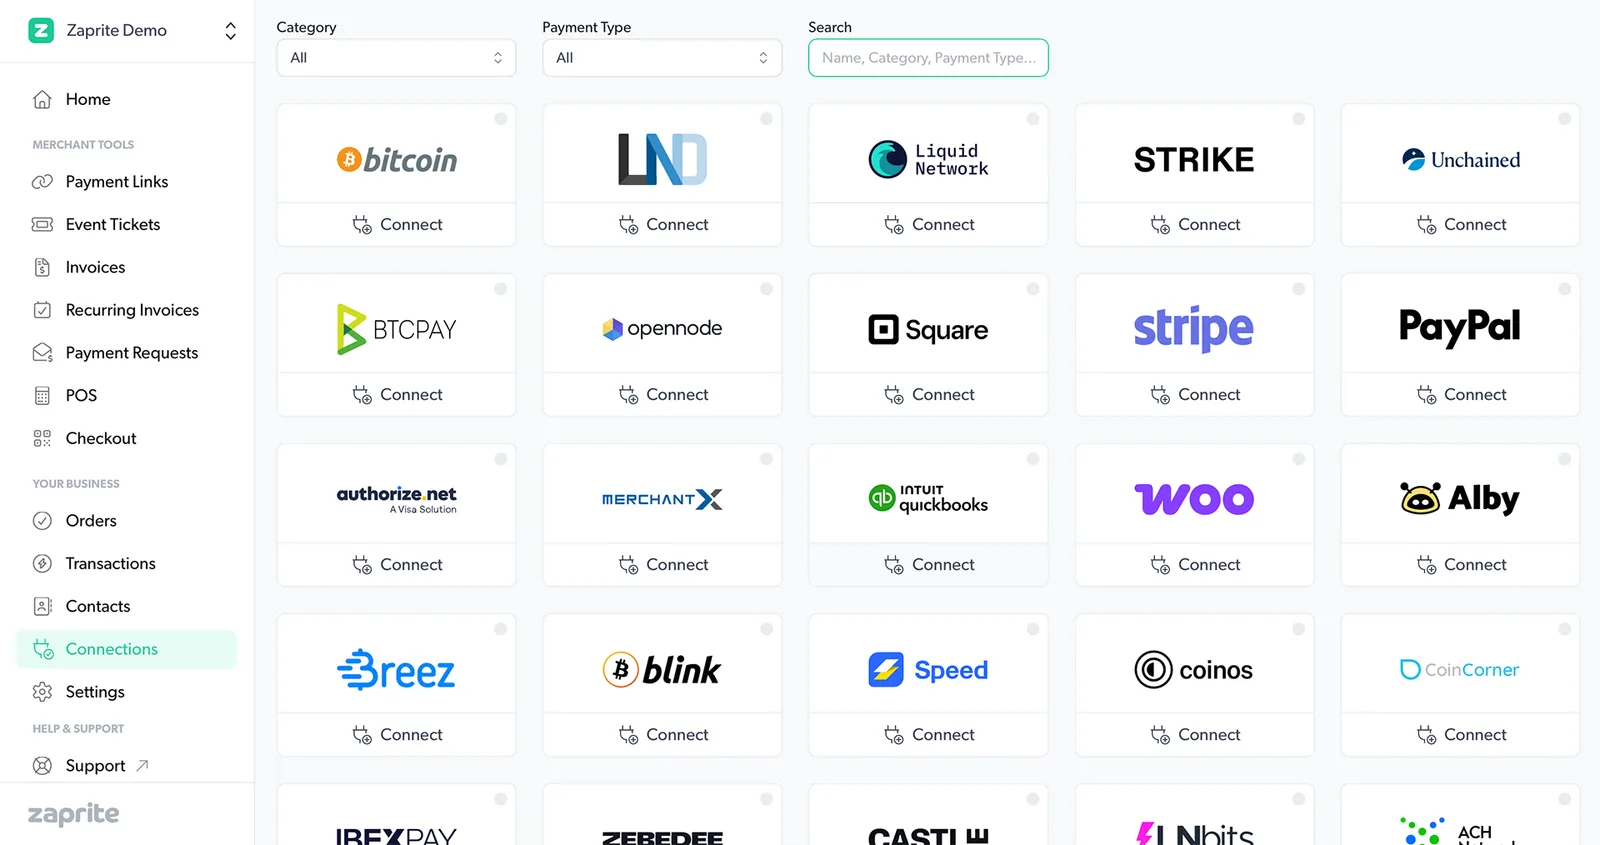
Find the Quickbooks connection on the Connections page in your Zaprite account.
Once activated, you will be brought to the ‘Connect’ screen to start your connection.
Step 2: Connect your account
The next step involves logging into your Quickbooks account to authenticate the connection.
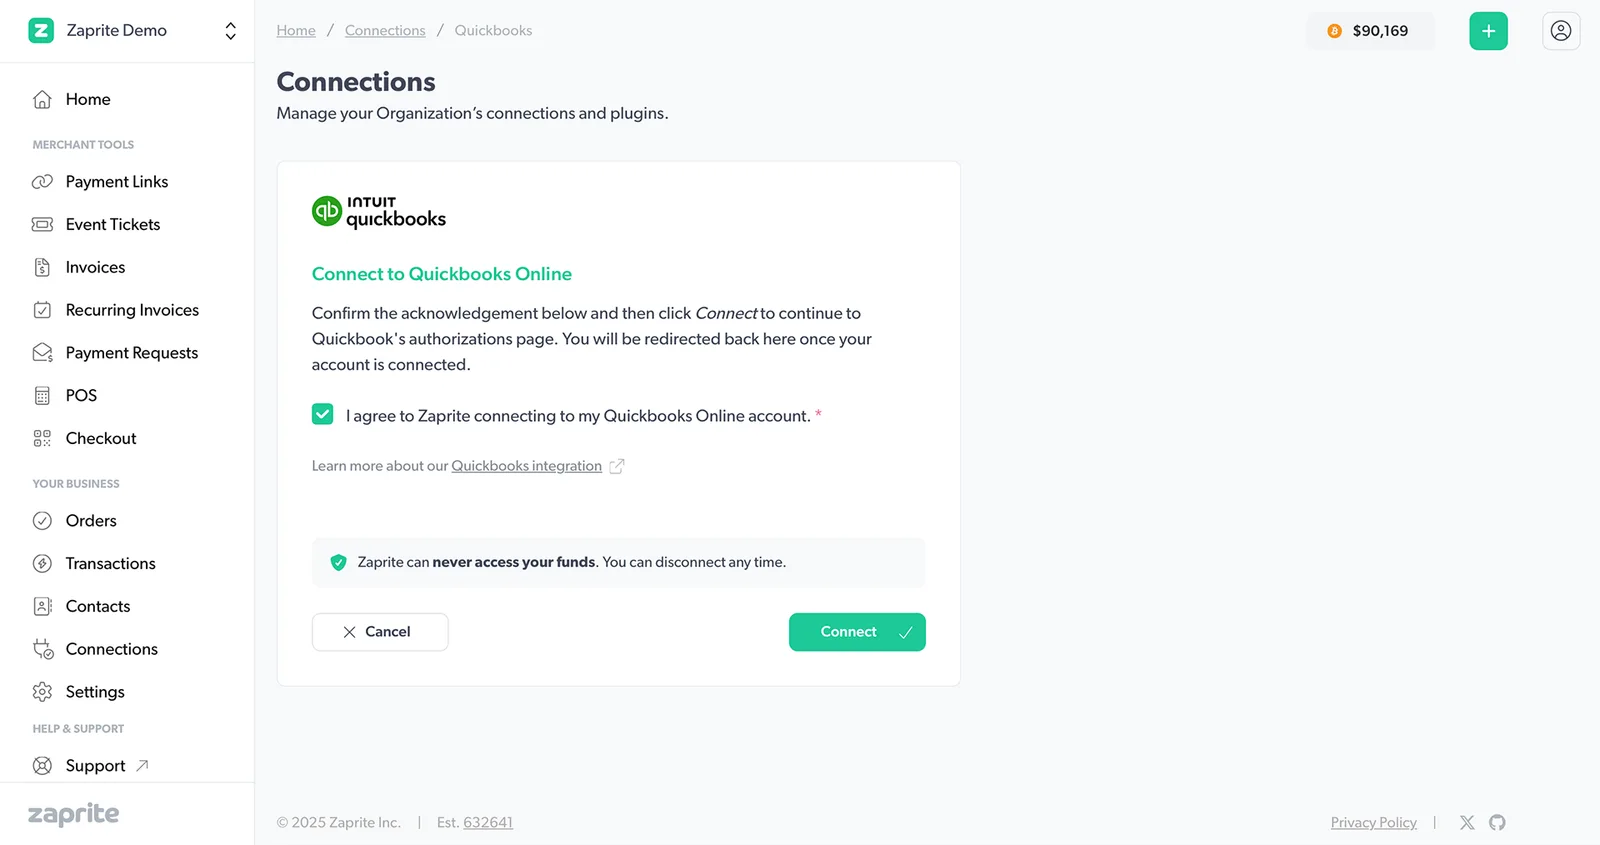
Activating your Quickbooks account in Zaprite.
Make sure you check the box to agree to the terms, then click [Connect]. You will be redirected to the Quickbooks Online login page where you can enter your Quickbooks login information.
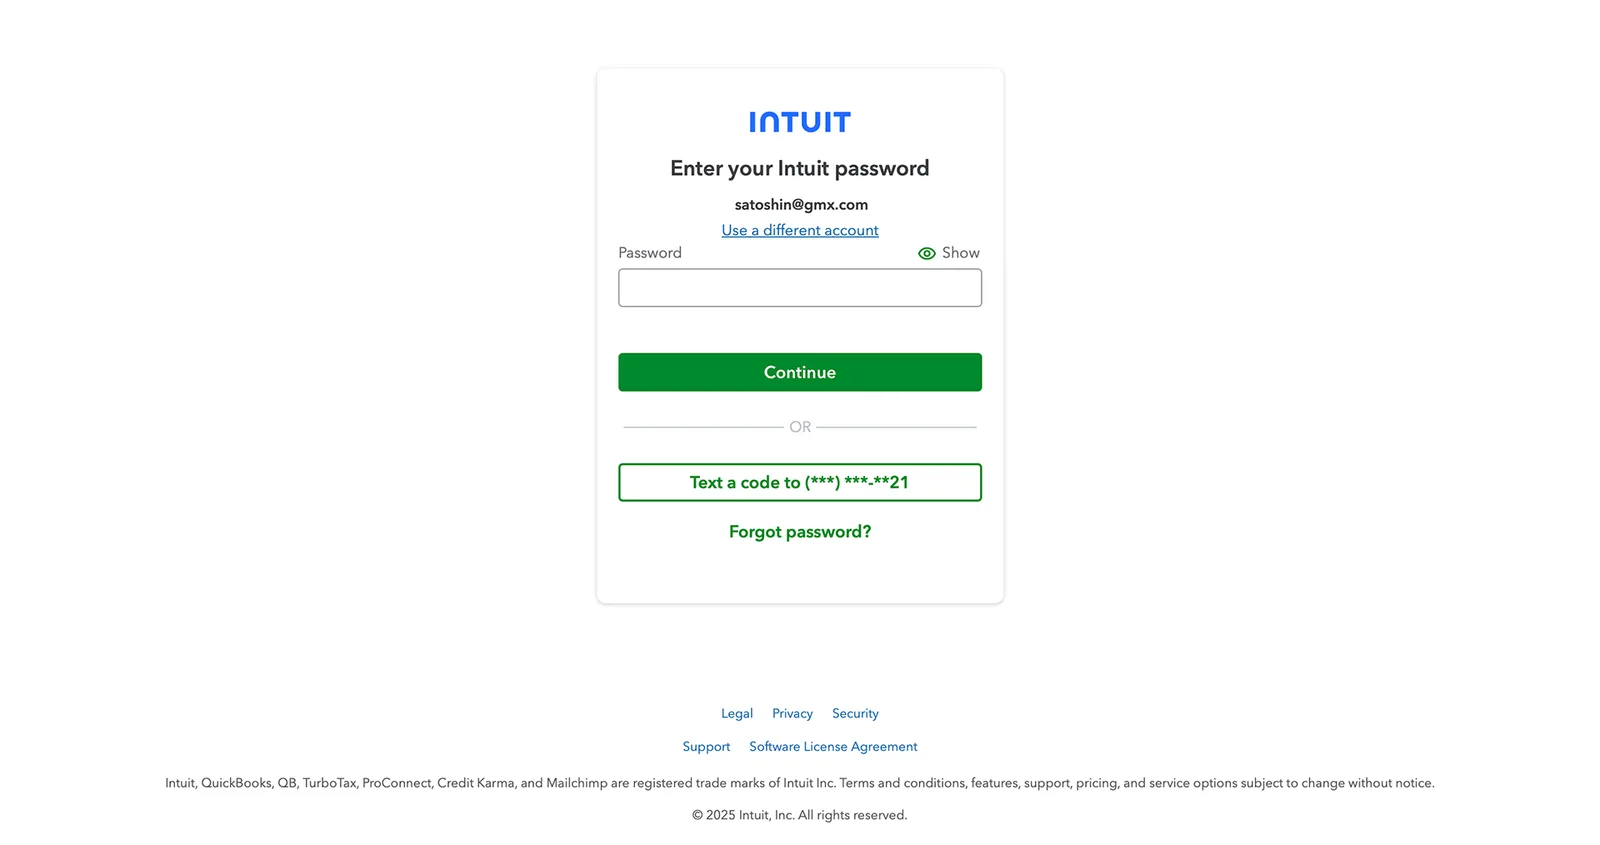
Login to your Quickbooks account to approve the authentication flow.
Once you have successfully logged into your Quickbooks account, you will be returned to your Zaprite account.
If you want to disconnect your account you can simply click the Disconnect button and your Quickbooks account information will be removed from our database. You can reconnect at any time.
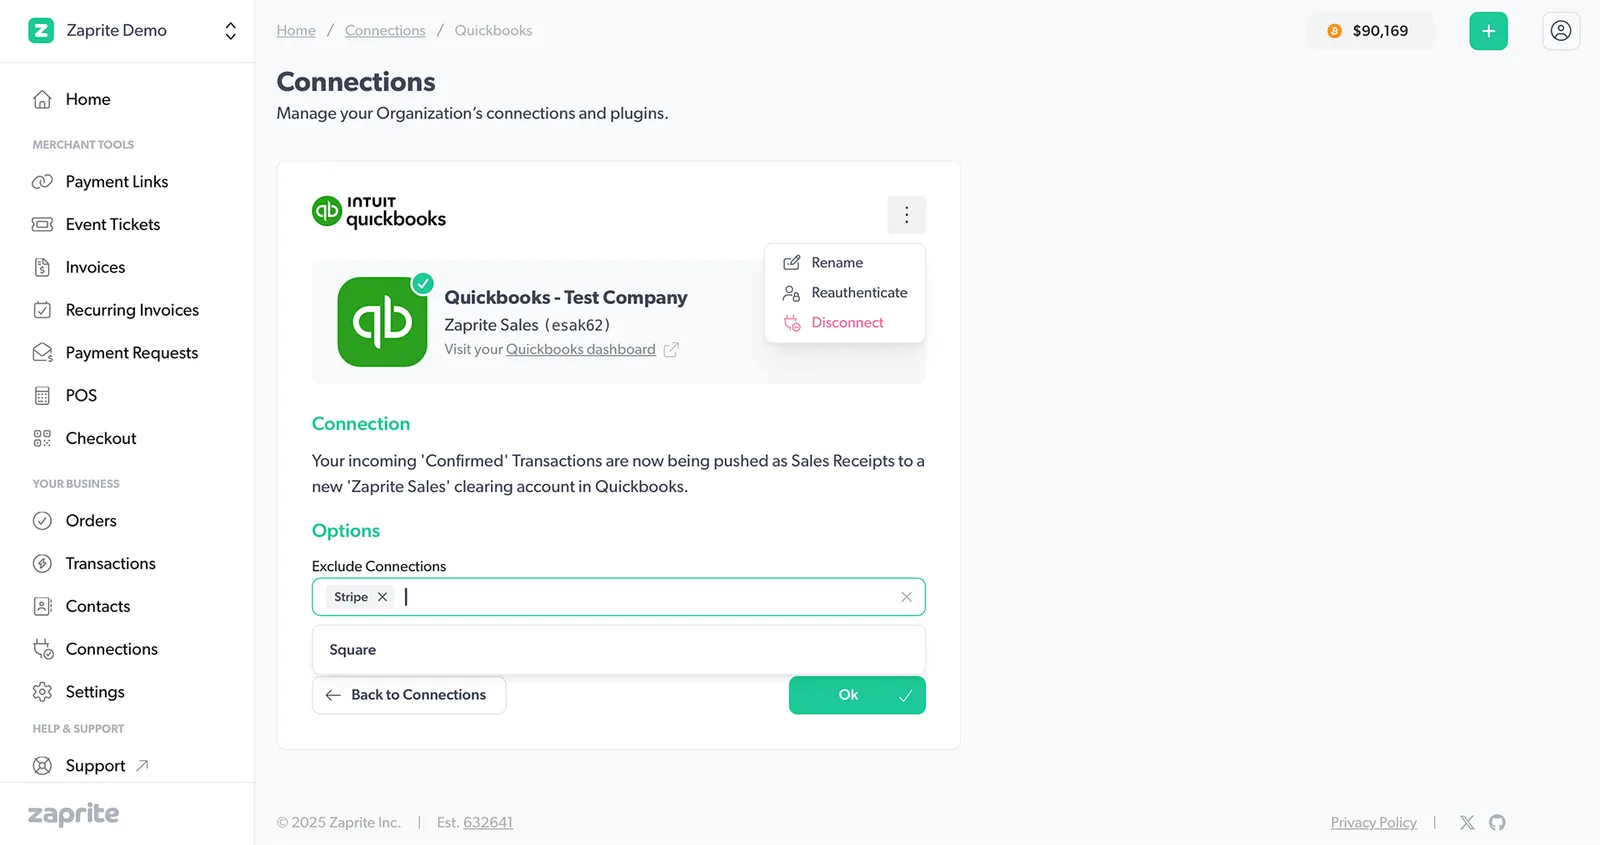
You can disconnect your Quickbooks account at any time.
Success!
At this point your Zaprite account is now successfully connected to your Quickbooks account. Your incoming ‘Confirmed’ Transactions will be automatically pushed as Sales Receipts to a new ‘Zaprite Sales’ clearing account in Quickbooks.
Each Transaction, regardless of currency, will be sent to Quickbooks denominated in your Accounting Currency. For example, if you charge USD $1,000.00 on a Zaprite Checkout and your customer pays in BTC, the payment will be sent to Quickbooks as a Sales Receipt for USD $1,000.00.
Each Transaction will include additional metadata such as:
- Transaction ID
- Order ID
- Amount Paid in BTC
- Accounting Amount
- Payment Method
Options
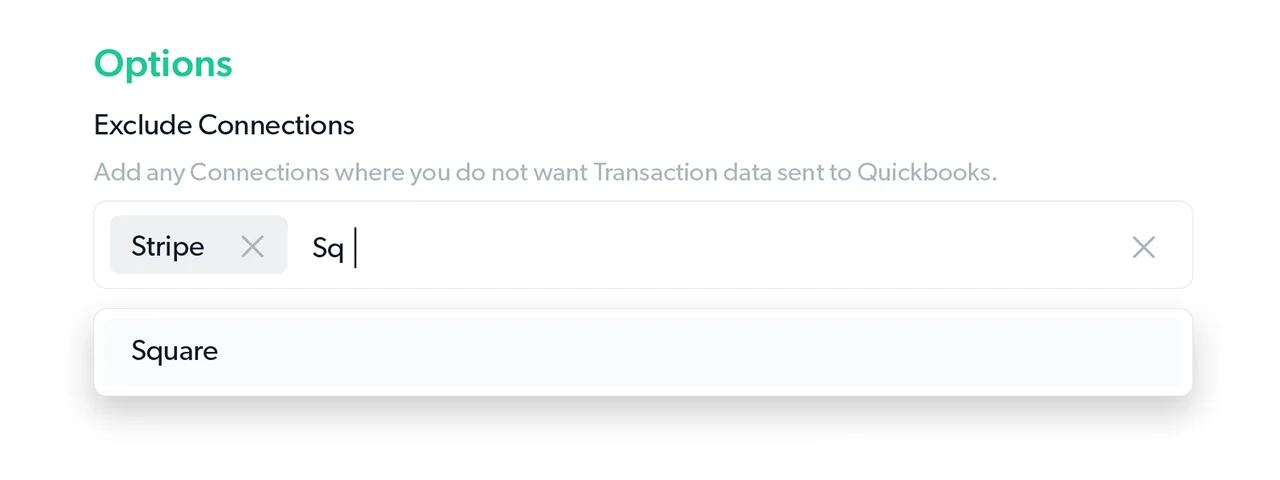
Optionally exclude certain Connections from sending data to Quickbooks.
Use the Exclude Connections option to exclude any Connections where you do not want Transaction data sent to Quickbooks. For example, you may already have your Square account connected in Quickbooks and do not want Zaprite duplicating Transaction data. In this case you would add Square to the exclusion list.
Help & Support
If you run into any issues connecting your Quickbooks Online account, or have general questions about using Zaprite, feel free to reach out at https://help.zaprite.com.